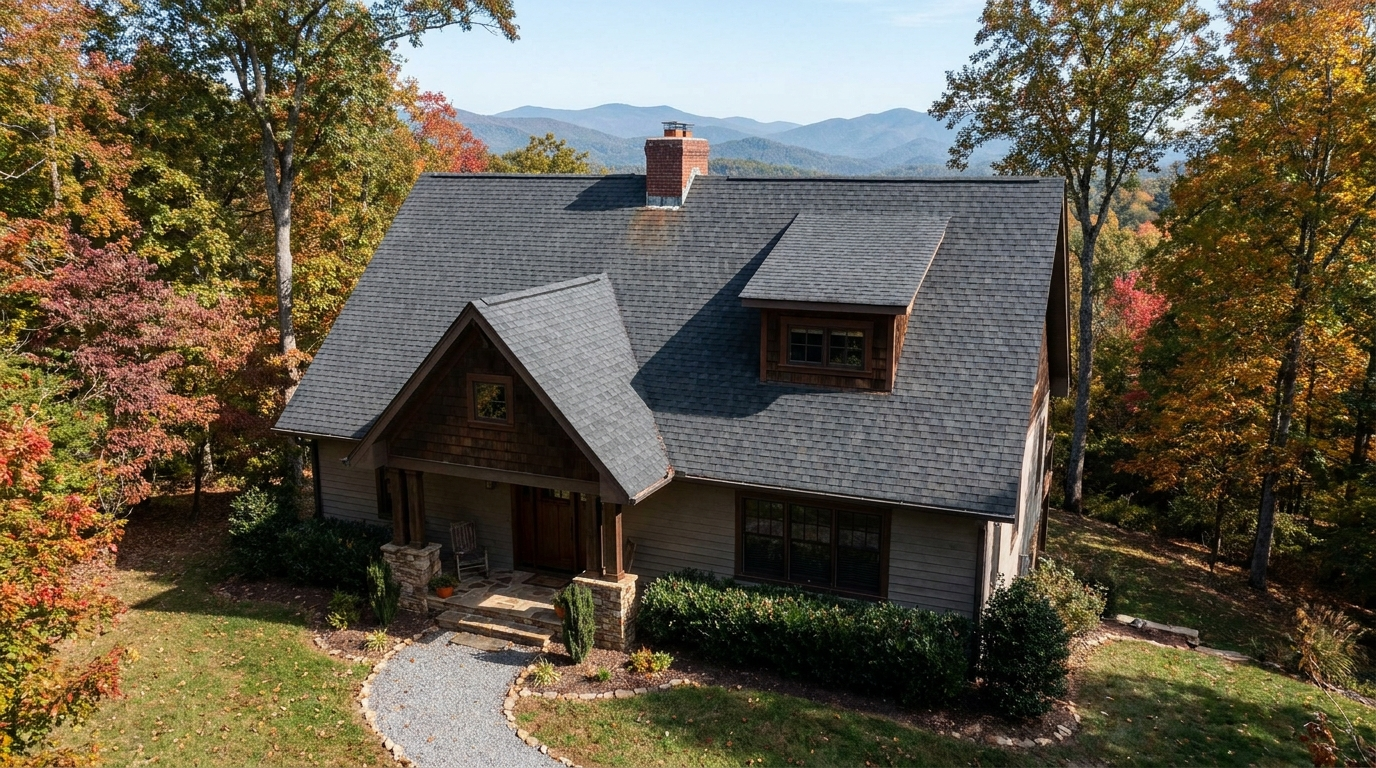
Roof Flashing Types and Problems in Greensboro, NC: A Guide
RoofingBaker Home Exteriors
Ask a homeowner what keeps rain out and almost everyone says the shingles. Shingles handle the easy part. What decides whether a roof leaks is the metal at the joints — where a roof plane runs into a wall, where two slopes meet, where a chimney comes through, where the roof edge stops.
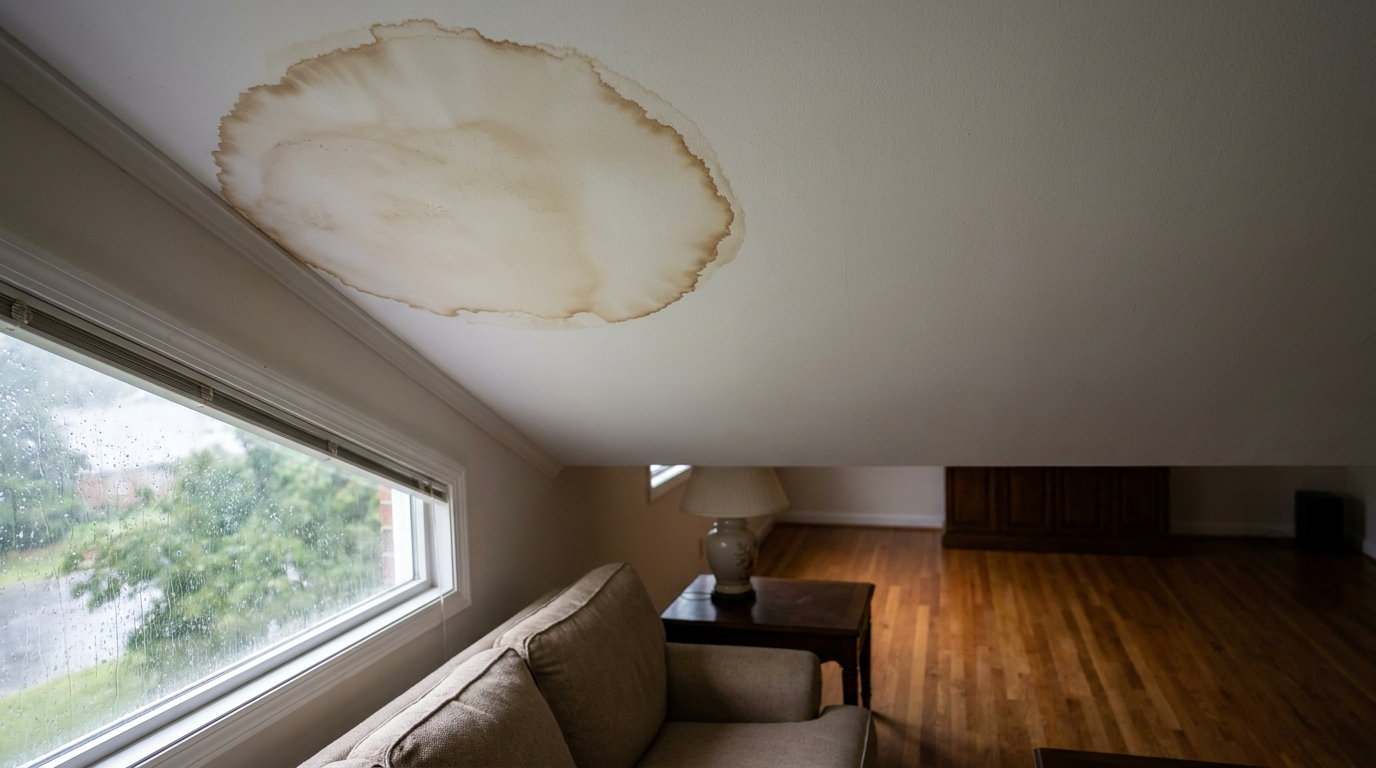
That metal is flashing. A shingle field is a simple problem: overlapping pieces on a slope. Every flashing detail is a custom junction, bent and layered by hand on site, and the ones that fail rarely fail loudly. If something on your Greensboro home is staining a wall or wetting attic insulation while the shingles still look new, our Greensboro roof repair crew is looking at flashing before anything else. This guide walks the types, where each belongs, what they are made of, and the one failure that costs Triad homeowners most.
What Roof Flashing Types Protect a Greensboro Home?
One idea explains all of them. The University of Minnesota Extension puts it as plainly as anyone: “Every element of the drainage plane must be installed so it will direct water out and over the layer below it.” Every piece laps over the piece downhill of it, the way shingles do. Flashing carries that logic through the places shingles cannot go.
The residential code governing Greensboro construction requires flashing at wall and roof intersections, wherever roof slope or direction changes, and around roof openings. In practice that becomes a handful of named parts.
| Flashing type | Where it goes | What it does |
|---|---|---|
| Step | A sloped roof running alongside a wall or chimney | One L-shaped piece per shingle course, woven into them |
| Apron (headwall) | Where the top edge of a roof meets a wall face | Carries water off that joint and onto the shingles |
| Counter | Over the top of step or apron flashing | Caps the exposed upper edge, set into the masonry above |
| Valley | Where two roof planes meet | Handles the concentrated runoff from both slopes |
| Drip edge | Eaves and rakes | Breaks water off cleanly instead of letting it wick back |
| Kickout (diverter) | The bottom end of a roof-to-wall joint | Throws water sideways into the gutter |
| Pipe boot | Plumbing vent stacks | Seals a round penetration through a flat plane |
| Skylight | Around a curb | Usually a manufacturer kit: head, sill and step pieces |
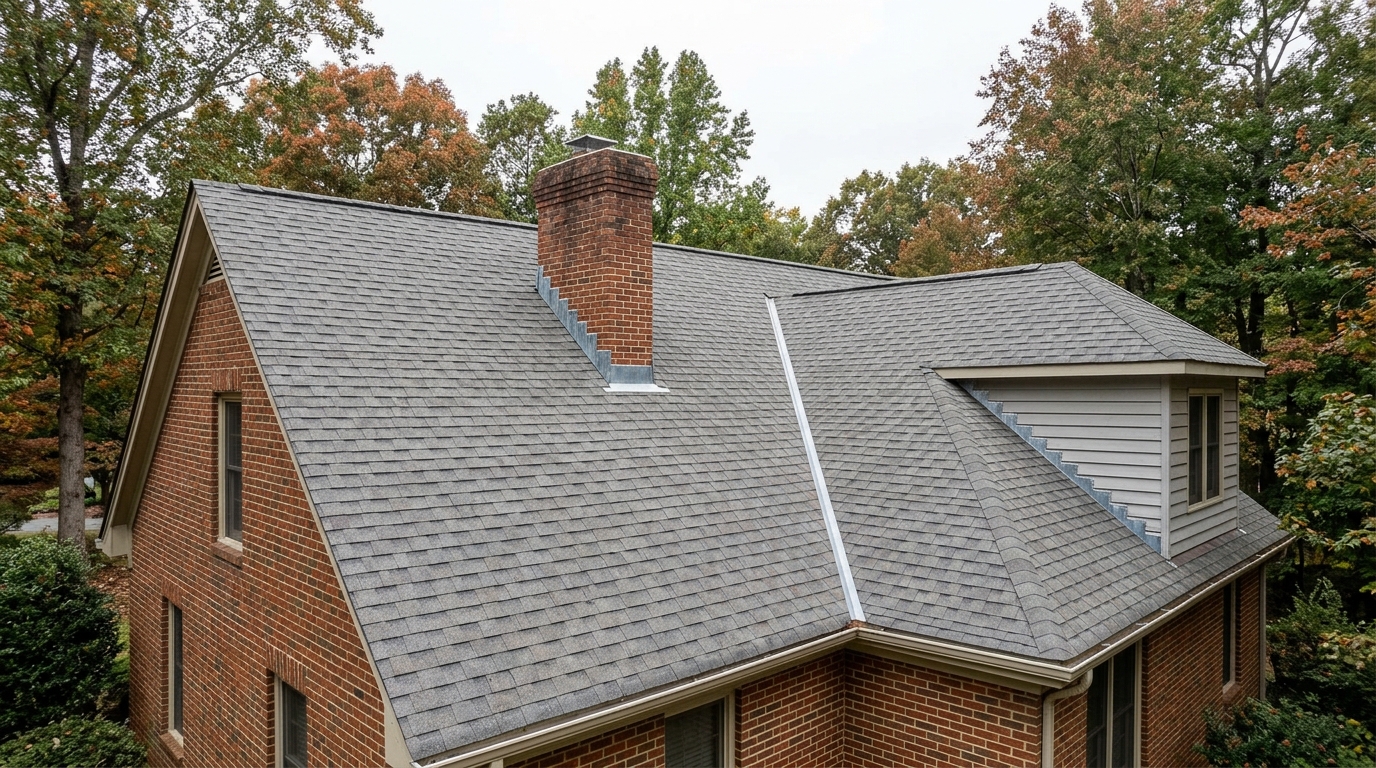
A chimney needs several at once: a pan at the low side, step flashing up both cheeks, counter flashing over all of it. That stack of parts is why chimneys draw so many leak calls in the Triad.
The Extension’s other observation matters most to an owner: apron and step flashing are the two details used most often, and because of that are also “seen incorrect or incomplete the most often.”
Where Does Step Flashing Install Against a Greensboro Wall or Chimney?
Step flashing goes where a sloped roof runs alongside a vertical surface — the side of a dormer, the cheek of a chimney, the wall of a second story coming down to meet a lower roof.
It is not one long strip but a stack of small L-shaped pieces, one per shingle course, each lapping the one below. The residential code sets the dimensions: sidewall flashing must be “not less than 4 inches (102 mm) in height and 4 inches (102 mm) in width” and has to direct water onto the roof or into the gutter, away from the wall. Stock pieces for architectural shingles run four by four inches, eight inches long, one face pre-painted to disappear against the shingle.
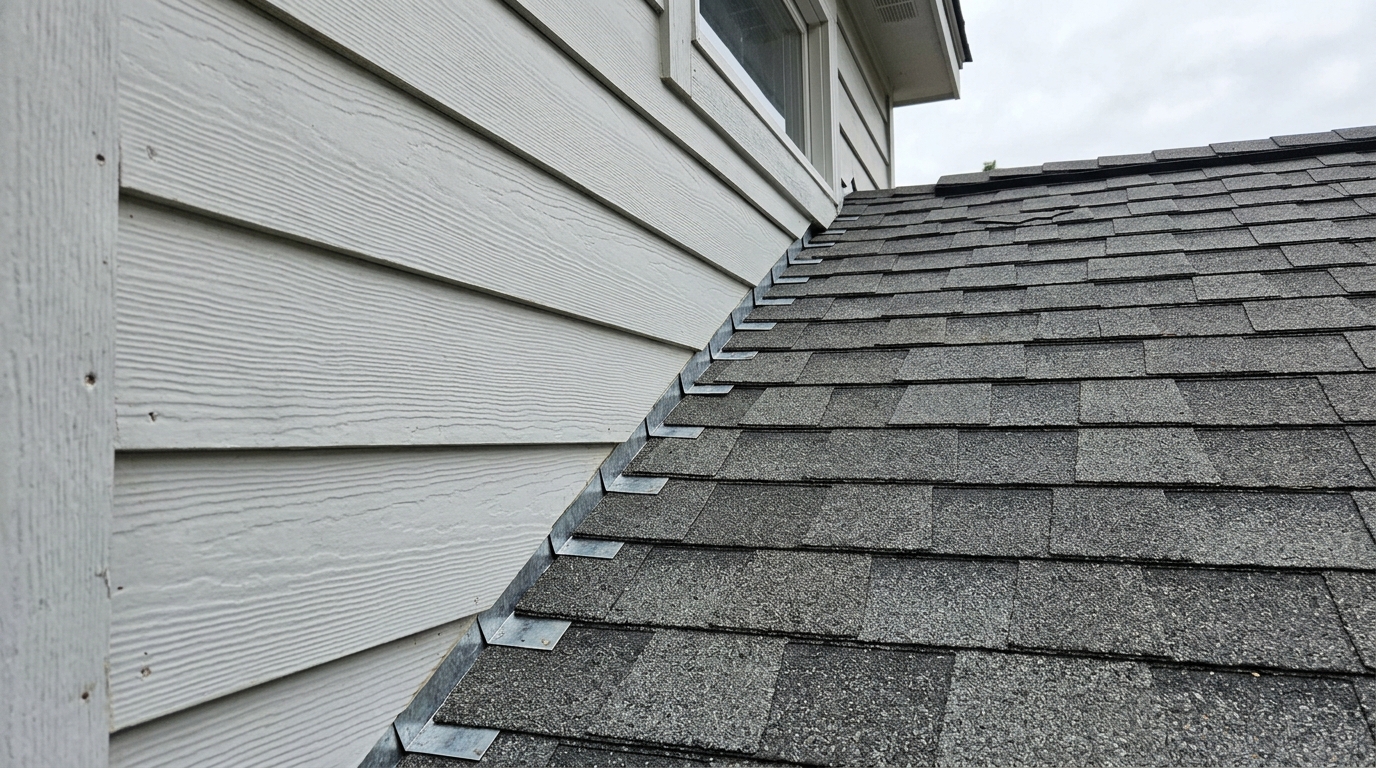
The weave is the waterproofing. Each piece sits under the course above and over the one below, so water landing anywhere on that joint meets metal and gets sent back onto the roof. No sealant is doing the work. The geometry is.
Counter flashing finishes it. Step flashing leaves an exposed top edge running up the wall, and on masonry that edge gets capped. The correct method is a groove cut into a mortar joint — a reglet — with the metal bent into it and sealed. BASC describes it exactly: step flashing “integrated in a layered manner with asphalt shingle roofing and topped with counterflashing that is embedded into brick mortar joint above.”
One thing homeowners report as a defect is not one. Visible step flashing metal between siding and roof is normal — three replies in a row on a thread asking exactly that said so, the highest-voted from a contractor who had switched to black step flashing purely to stop having the conversation “with customer after customer.” Siding sitting an inch off the roof is intended, not sloppiness.
How Does Valley Flashing Stop Leaks on a Greensboro Roof?
A valley does something no other part of a roof does: it takes the runoff from two slopes and forces it into one narrow channel. In a Piedmont thunderstorm that is a lot of moving water in a small place.
Valleys get built three ways. An open valley leaves a metal channel exposed down the center, shingles trimmed back either side. A closed-cut valley runs shingles across and trims the top layer to a line. A W-valley adds a raised rib down the middle so water sheeting off one slope cannot drive under the shingles on the other — what you want on a steep pitch.
Where metal is left exposed the code sets a floor on width: an open-valley lining must be at least 24 inches wide, in corrosion-resistant metal. Water in a valley does not run in a tidy line. It fans, and it climbs the sides in heavy rain.
The failure here is almost always sequence rather than material. The wrong version is valley flashing laid on top of the shingles instead of tucked beneath them. The code is explicit about the order: valley linings are installed “before applying shingles”, and an open metal valley has to be at least 24 inches wide. It looks finished. It is a funnel pointed at your decking.
This is a detail we treat as a place to exceed the standard rather than meet it, along with running ice and water shield past manufacturer minimums up the valley center. It is not a visible upgrade, which is exactly why it gets skipped. A valley done properly is invisible for thirty years. One that was not is invisible for four.
Why Do Greensboro Roofers Install Drip Edge and Kickout Flashing?
These two sit at the bottom edges of a roof, are the two most often left off, and fail in completely different ways.
Drip edge is the bent metal strip along your eaves and rakes. Water leaving a roof edge does not simply fall — surface tension pulls some of it backward around the edge, soaking the fascia and wicking under the last course of shingles. Drip edge gives it a hard lip to break off. Skip it and the damage shows up in the board behind the gutter, the slow version of a problem covered in our guide to replacing soffit and fascia after water damage.
Kickout flashing is the one to go look for.
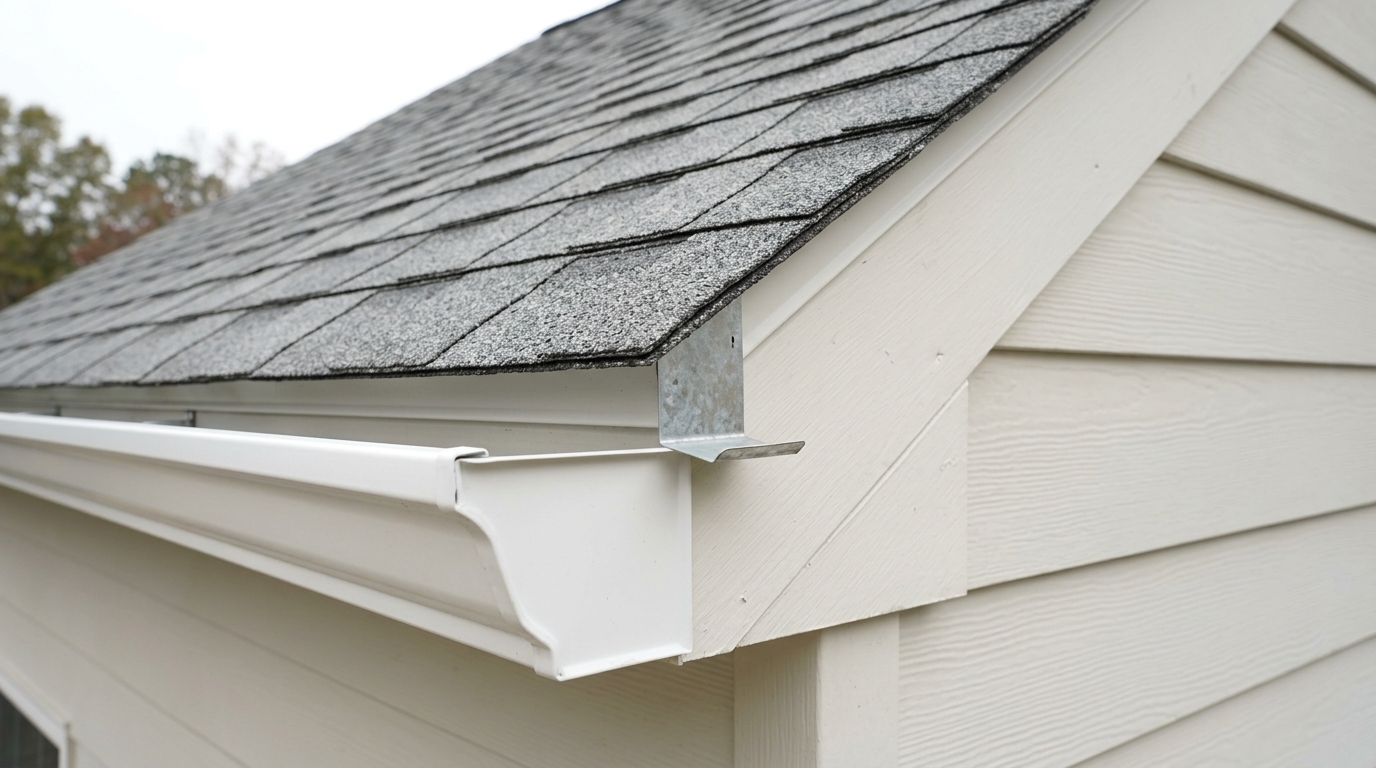
Picture a roof plane running down alongside a wall. Step flashing carries water down that joint correctly, course after course, then the roof ends — and the wall keeps going. Without something at the bottom to throw that water sideways, the whole collected stream runs off the end of the roof and down the face of the wall, behind the siding, past the end of the gutter entirely.
The kickout makes the turn. It is usually the first piece of step flashing, cut and bent outward so its lower lip aims into the gutter. The code requires a flashing to divert water away from where the eave of a sloped roof meets a vertical sidewall, minimum two and a half inches long; North Carolina guidance adds roughly four inches up the sidewall at about a 110-degree angle. A builder demonstrating the cut on camera explained why the angle is not arbitrary: bend it too sharply and you have built a dam instead of a diverter. BASC is equally specific about fastening: the diverter gets fixed and sealed to the roof deck and the starter strip, explicitly not to the sidewall.
Here is why this one earns your attention. The roof does not leak. BASC is unambiguous about where the water goes instead. Missing kick-out and step flashing produces “significant damage to wall sheathing, framing, insulation, and mold inside the wall cavities,” and modern siding materials “can mask the evidence for years” while “water is pouring into the wall.”
So the symptom surfaces elsewhere and gets treated as a different problem. In one homeowner thread, a roof about a year old was sending water streaming down behind the gutter and onto the chimney. Two people suggested tuckpointing and sealing the brick. A third cut through it: “Repointing wont fix the main issue, which is lack of kickout flashing. Without kickout flashing, you’d eventually need to repoint the chimney.” The failing masonry is the symptom. Repointing treats the stain and leaves the tap running.
Which Flashing Metals Protect Greensboro Roofs Longest?
Flashing metal is chosen for three things: how long it lasts, whether it can be soldered, and what it will be touching for decades. In the Triad the third usually decides it, because so many flashing details land against brick.
Galvanized steel is the default and the cheapest, typically 26 or 28 gauge. The code floor for corrosion-resistant flashing is a nominal 0.019 inches, which is what 26-gauge galvanized sheet gives you. It is also the least durable common option and does not belong in prolonged contact with masonry or modern pressure-treated lumber.
Aluminum forms easily, holds paint well, and is what most residential wall flashing is made from. It cannot be soldered, and its real weakness is chemical rather than structural: bare aluminum corrodes against alkaline materials — mortar, concrete, fresh masonry — and against the copper in today’s treated lumber. On a brick chimney that is a genuine consideration.
Copper is the long-service answer. It solders, so a chimney pan can be made watertight without relying on a sealant joint, and it weathers to a patina that protects the metal beneath. It is also expensive, and everyone knows it. One commenter describing his standard copper chimney detail drew the obvious reply within the hour: “have you seen the price of copper these days.”
Lead and lead-coated copper stay in use on masonry because lead is malleable enough to dress into an irregular mortar joint by hand.
The rule that catches people is galvanic corrosion: put two dissimilar metals in wet contact and the more active one dissolves. Copper against galvanized steel, copper against aluminum, and galvanized nails driven through copper flashing all quietly eat one of the two. The homeowner version is short — flashing metal and the gutter metal it drains into should match, and if they cannot, they need separating.
One cosmetic request shortens service life: a decorative row of shingles laid over exposed wall flashing to hide the metal. It smothers the flashing and stops it drying quickly, which one commenter warned leads to “early aging and rust.” The metal you can see is the metal that lasts.
How Can Greensboro Homeowners Spot Failing Roof Flashing?
Partly you can, and it is worth knowing where honest self-inspection stops.
From the ground, walk the house after heavy rain and look where a roof plane dies into a wall. You want staining on the wall below that junction, water running behind rather than into the gutter end, and on a chimney, mortar looking eroded on one face. Rust streaking below a flashing line means the metal has been wet a long time. Counter flashing lifted from its mortar joint is visible with binoculars.
Inside, the attic is more honest than the exterior. Wet insulation beside the chimney, dark staining on decking near a valley or wall line, or daylight where there should be none all point at a joint rather than a field. A chimney professional offered a free test: lay newspaper around the chimney in the attic and check after the next rain. Wet paper means an active leak. Dry paper means an old stain.
Then the limit, from the same person and worth taking seriously: there is no good way to inspect step flashing or the chimney pans without lifting the counter flashing to look underneath. The part that fails is the part nobody can see. That is why flashing problems tend to get found by a roof inspection rather than from the driveway.
Two related questions are answered elsewhere: whether flashing gets reused or replaced during a reroof, in our Carolinas roof replacement budgeting guide, and whether a bead of sealant is a real fix or a delay, in what a roof leak repair actually costs.
The last signal is about who you hire. Flashing is slow, hand-bent work in the corners of a roof, and the first thing to suffer on a fast job. One contractor who repairs it for a living drew the distinction better than we could: “It’s hard to find guys who are really good in the corners, where it counts. There’s a lot of shinglers out there, not as many roofers.”
The Bottom Line on Roof Flashing in Greensboro
Flashing gets judged by whether anything happened, so good work here is indistinguishable from luck until about year eight. The shingle field is the easy part of keeping a Greensboro house dry. The joints are the job.
Three things are worth remembering. Every flashing detail works by lapping over what sits below it, so anything relying on sealant instead of geometry is borrowing time. Valleys and roof-to-wall junctions are where water concentrates, so that is where care pays. And the kickout is the piece to go look for: when it is missing the roof stays perfectly dry and the wall behind your siding does not.
If you have a stain on an exterior wall under a roofline, mortar going soft on one face of a chimney, or you just want to know whether the metal on your roof was done properly, our roofing crews across Greensboro and the Triad will come look and tell you what we find. A free inspection settles it. Owners weighing this alongside gutter work often start with our comparison of half-round and K-style gutters.